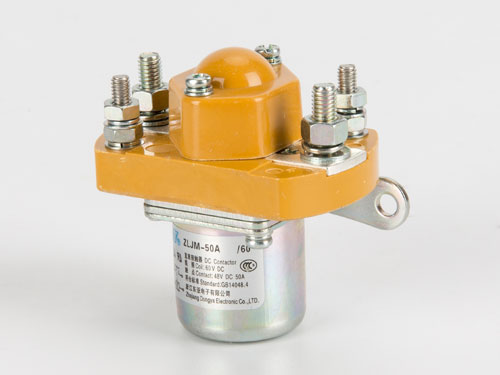
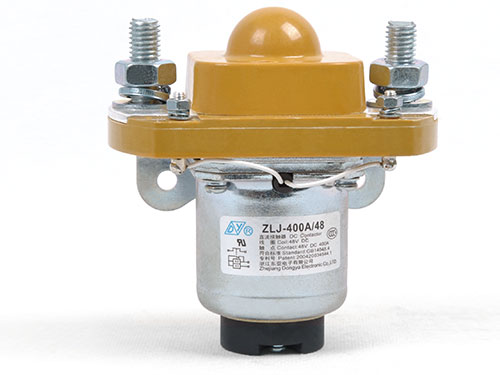
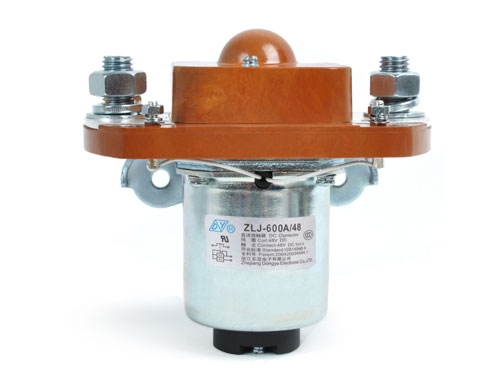
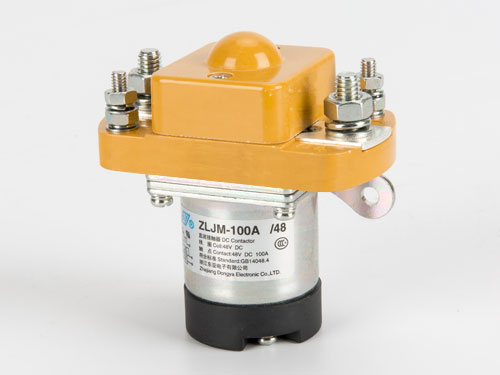
DC contactors are essential components in electrical systems, used to control high-power DC circuits in applications such as electric vehicles, renewable energy systems, and industrial machinery. Proper testing ensures their reliability and longevity. In this guide, we’ll explore the steps to effectively test a DC contactor.
Why Testing a DC Contactor is Important
Before installation or troubleshooting, testing a DC contactor helps:
Verify proper functionality
Detect coil or contact wear
Ensure safe operation
Prevent system failures
Tools Required for Testing
To test a DC contactor, you’ll need:
Multimeter (for resistance and voltage checks)
DC power supply (matching the coil voltage)
Load tester (if applicable)
Insulation resistance tester (for high-voltage applications)
Step-by-Step Testing Procedure
1. Visual Inspection
Before electrical testing, inspect the contactor for:
Physical damage (cracks, burns, or corrosion)
Loose connections
Signs of overheating (discoloration)
2. Coil Resistance Test
Disconnect power to avoid accidental activation.
Use a multimeter in resistance (Ω) mode.
Measure resistance across the coil terminals.
Expected result: A reading within the manufacturer’s specified range (typically a few ohms to several hundred ohms).
If open circuit (OL):The coil is faulty and needs replacement.
3. Coil Activation Test
Apply the rated DC voltage to the coil terminals.
Listen for an audible "click," indicating the contactor is engaging.
If no sound is heard, the coil may be defective.
4. Contact Continuity Test (Normally Open & Normally Closed Contacts)
For Normally Open (NO) Contacts:
Without power, contacts should show infinite resistance (open circuit).
When energized, resistance should drop to near zero (closed circuit).
For Normally Closed (NC) Contacts:
Without power, contacts should show near-zero resistance.
When energized, resistance should become infinite.
5. Voltage Drop Test (Under Load)
Connect the contactor to a load (if applicable).
Measure voltage across the contacts while energized.
A high voltage drop indicates worn or pitted contacts.
6. Insulation Resistance Test (For High-Voltage Applications)
Use an insulation resistance tester (megohmmeter).
Measure between coil and contacts, and between different poles.
A reading below 1 MΩ suggests insulation breakdown.
To test a DC contactor, use a multimeter to check coil resistance, verify proper activation at rated voltage, and test contact continuity (NO/NC) to ensure proper operation.
Common Issues & Troubleshooting
| Problem | Possible Cause | Solution |
| Contactor doesn’t engage | Faulty coil, low voltage | Check coil resistance & power supply |
| Excessive arcing | Worn contacts | Clean or replace contacts |
| Overheating | High resistance, poor connection | Inspect terminals & wiring |
Conclusion
Regular testing of DC contactors ensures efficient and safe operation. By following these steps—visual inspection, coil testing, contact continuity checks, and insulation resistance tests—you can diagnose and prevent potential failures. Always refer to the manufacturer’s specifications for accurate testing parameters.
By implementing these best practices, you can maintain optimal performance and extend the lifespan of your DC contactors.
 English
  한국어
한국어


